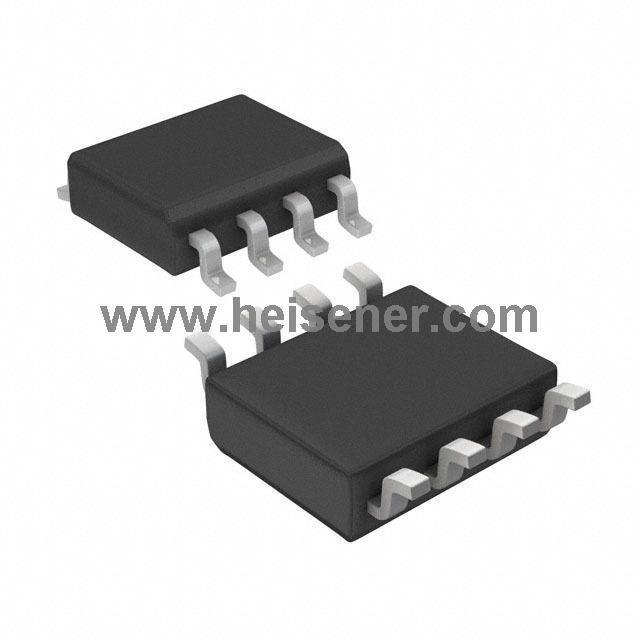
VIPER12AS Introduction
The VIPer12AS combines a current mode PWM controller with a high-voltage Power MOSFET on a single chip, offering an integrated solution for a wide range of applications. It is commonly used in offline power supplies for battery chargers, standby power for TVs and monitors, and auxiliary supplies for motor control systems.
The internal control features include a wide input voltage range on the VDD pin, making it adaptable to fluctuations in auxiliary supply voltage, automatic burst mode for low-load conditions, and overvoltage protection with hiccup mode, ensuring efficient and reliable operation.
VIPER12AS Pinout

1. VDD: Power supply of control circuits. Also provides a charging current during start up thanks to a high voltage current source connected to the drain. For this purpose, an hysteresis comparator monitors the VDD voltage and provides two thresholds:
- - VDDon: Voltage value (typically 14.5V) at which the device starts switching and turns off the start up current source.
- - VDDoff: Voltage value (typically 8V) at which the device stops switching and turns on the start up current source.
2. SOURCE: Power MOSFET source and circuit ground reference.
3. DRAIN: Power MOSFET drain. Also used by the internal high voltage current source during start up phase for charging the external VDD capacitor.
4. FB: Feedback input. The useful voltage range extends from 0V to 1V, and defines the peak drain MOSFET current. The current limitation, which corresponds to the maximum drain current, is obtained for a FB pin shorted to the SOURCE pin.
VIPER12AS Block Diagram

VIPER12AS Current and Voltage Connections

VIPER12AS Specification
| Parameter | Specification |
| Supply Voltage Range | 9V ~ 38V |
| Startup Voltage (VDD) | 14.5 V |
| Breakdown Voltage | 730V |
| Output Power | 8 W |
| Output Voltage | 5 V to 15 V |
| Operating Frequency | 100 kHz |
| Switching Frequency | 60kHz |
| Overvoltage Protection | Yes, in hiccup mode |
| Integrated MOSFET | 700 V N-channel MOSFET |
| Soft Start | Yes |
| Output Voltage Regulation | Yes, with feedback loop |
| Operating Temperature | -40°C ~ 150°C |
| Package Type | 8-SOIC |
VIPER12AS Features
Fixed 60 KHZ Switching Frequency
9V to 38V Wide Range VDD Voltage
Current Mode Control
Auxiliary Undervoltage Lockout with Hysteresis
High Voltage Start Up Current Source
Overtemperature, Overcurrent and Overvoltage Protection with Autorestart
VIPER12AS Applications
Battery Charger Adapters
Standby Power Supplies
TV and Monitor Power Supplies
Auxiliary Power Supplies for Motor Control
Off-line Auxiliary Power Supplies
Consumer Electronics
Power Supplies with Low Load Requirements
How to Connect VIPER12AS?
Step 1: Connect the VDD pin to an external power supply. During startup, the VDD pin charges the external capacitor via an internal high-voltage current source. Ensure the VDD voltage reaches 14.5V (VDDon) to activate the device. Once this happens, the startup current source turns off, and the device begins operation. If VDD drops below 8V (VDDoff), the device stops switching, and the current source resumes charging the capacitor.
Step 2: Connect the SOURCE pin to the ground (GND) of the circuit. This pin serves as both the source of the power MOSFET and the reference ground for the circuit, providing the correct voltage for the MOSFET's operation.
Step 3: Connect the DRAIN pin to the load, typically the output of the switch-mode power supply (SMPS). It connects the load and also charges the external VDD capacitor during startup through the internal current source.
Step 4: Connect the FB pin to the feedback circuit. This pin monitors current limitation by adjusting the FB voltage (0V to 1V), controlling the MOSFET's peak current. Shorting the FB pin to the SOURCE pin sets the device to maximum current. The feedback circuit can be adjusted to control the output power based on application needs.
VIPER12AS Package
The VIPER12AS comes in an 8-SOIC package, designed for surface-mount technology. It offers a compact solution with dimensions of 4.90 mm (length), 3.90 mm (width), and 1.75 mm (height). The pin pitch is 1.27 mm, and the lead thickness ranges from 0.25 mm to 0.30 mm. This package ensures efficient automated PCB assembly and reliability in power management applications.

VIPER12AS Manufacturer
The VIPER12AS is an integrated circuit manufactured by STMicroelectronics, a global leader in semiconductor solutions. STMicroelectronics provides a wide range of products across various industries, including power management, automation, communications, and automotive electronics.
With its extensive expertise in power management, STMicroelectronics' products excel in performance, reliability, and energy efficiency, making them widely used in applications like switch-mode power supplies, battery chargers, and standby power supplies for televisions.
FAQs
What is VIPER12AS?
The VIPER12AS is a high-voltage integrated circuit from STMicroelectronics, combining a PWM controller and a power MOSFET on the same chip. It is primarily used in power supply applications, such as switch-mode power supplies, battery chargers, and standby power supplies for TVs and monitors.
How does VIPER12AS handle low-load conditions?
The VIPER12AS has an automatic burst mode feature that allows it to operate efficiently under low-load conditions. This helps to minimize energy consumption and optimize efficiency.
How does overvoltage protection work in VIPER12AS?
The VIPER12AS includes overvoltage protection in hiccup mode. When an overvoltage condition is detected, the device enters hiccup mode and temporarily stops switching to protect the circuit. Once the overvoltage condition is resolved, it resumes operation.